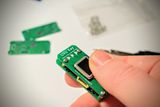
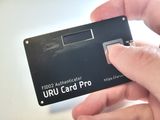
URU Key - fully autonomous prototype
Previously I have built the single board device featuring all the main hardware components to implement FIDO2 Authenticator but without an autonomous power source. Today with the addition of a power board my project becomes a completed device.
Using the schematics from the post about the power source for the URU Key I have built a separate board with battery and charging circuitry. The mainboard size was adjusted accordingly and the inter-board connector was added.
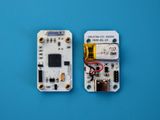
After building multiple prototypes I have plenty of development boards around so I can upload the firmware on the device only occasionally and therefore I have no need in the permanently soldered connector. Therefore I decided to use the spring-loaded pins soldered on a special connector board and a couple of contact pads on the device. The connector board has simple wiring to the corresponding outputs of the ESP32 Programmer I have created last summer.
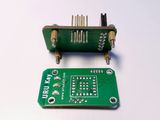
This approach saves a lot of space and provides a perfect connection for uploading new firmware.
With the M2 screws and brass spacers, two boards are screwed together and form a single autonomous device.
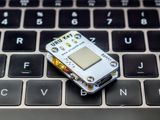
The overall dimensions are 35×20×10mm. It’s already quite a small device to carry. However, it needs a more robust and protected case to have it in the pocket.
So, the hardware part is mostly done. I need to focus on the firmware part where the biggest gap is the biometrics.

